There is a specific satisfaction in watching a new VirtualBox VM boot up or seeing a cloud instance reach the “Running” state. You have a fresh, untouched Linux environment ready for whatever architecture you want to build.
But before you start installing Apache, setting up Docker containers, or building out your local DNS sinkhole, you need to stop and secure the perimeter.
The public internet is a hostile environment. If you spin up a server with a public IP address and leave the default SSH port open, automated botnets will find it and begin brute-forcing your login credentials within minutes.
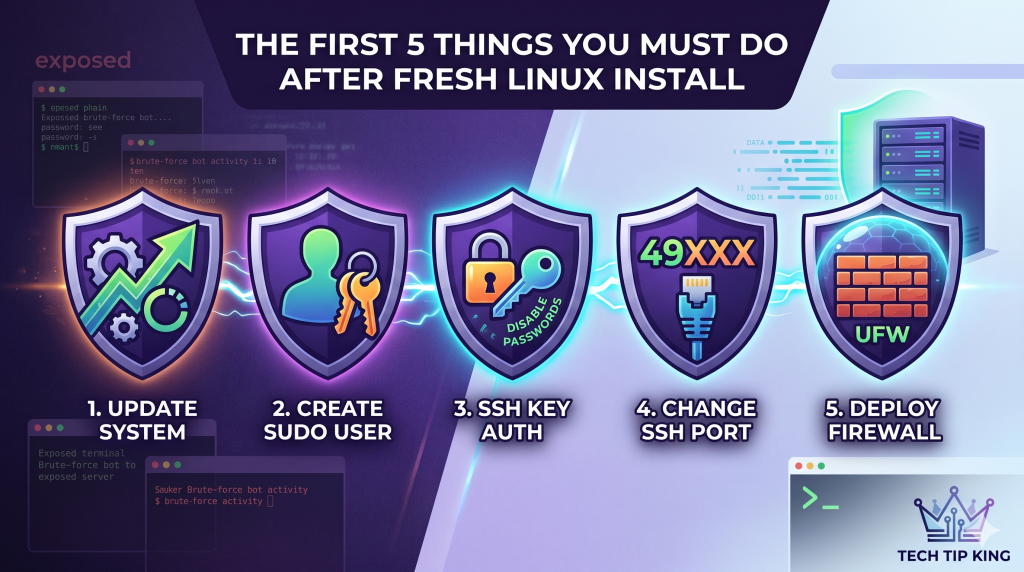
To build reliable infrastructure, security cannot be an afterthought. Here are the five non-negotiable steps you must take the moment you log into a fresh Linux server.
1. Update the Linux Server
Whether you downloaded an ISO yesterday or deployed a cloud image five minutes ago, the packages are already out of date. Zero-day vulnerabilities are patched constantly, and your first action should always be syncing your system with the latest security releases.
Run this immediately:
Bash
sudo apt update && sudo apt upgrade -y
2. Create a Dedicated Sudo User
Operating as the root user is like driving a car with no seatbelt and the airbag disabled. One typo in a command can irreversibly destroy your operating system. You need a standard user account with the ability to temporarily escalate privileges via sudo.
If your installer didn’t create one for you, do it now:
					adduser <your_username>
usermod -aG sudo <your_username>
Log out of root, log in as your new user, and verify you have administrative access by running sudo -v. Once confirmed, you should never log in directly as root again.
3. Kill Password Authentication (Use SSH Keys)
Passwords are a massive security vulnerability, no matter how complex you make them. To truly lock down your server, you need to completely disable password logins and rely entirely on cryptographic SSH keys.
First, generate an SSH key pair on your local machine (the laptop or desktop you are connecting from):
ssh-keygen -t ed25519 -C "your_email@example.com"
Next, copy your public key to the new server:
ssh-copy-id <your_username>@<server_ip>
Test your login. If it lets you in without asking for a password, you are ready to lock the door behind you. Open the SSH configuration file on the server:
sudo nano /etc/ssh/sshd_config
Find the line PasswordAuthentication yes, change it to no, and restart the service:
sudo systemctl restart ssh
4. Move the Target: Change the Default SSH Port
By default, SSH listens on Port 22. Every malicious script and automated scanner on the internet knows this. While disabling password authentication protects you from being hacked, leaving SSH on Port 22 means your server’s auth.log will be filled with thousands of failed login attempts every single day, wasting CPU cycles and bandwidth.
We fix this with security by obscurity. Open the config file again:
sudo nano /etc/ssh/sshd_config
Find the line #Port 22. Remove the hashtag to uncomment it, and change the number to a high, unused port (e.g., between 1024 and 65535).
Port 49222
Save the file and restart SSH:
sudo systemctl restart ssh
From now on, you will connect using the -p flag:
ssh -p 49222 user@server_ip
5. Deploy the Bouncer (UFW)
Your server should operate on a policy of “default deny.” If you don’t explicitly allow traffic through, it should be dropped at the door. On Debian and Ubuntu, the Uncomplicated Firewall (UFW) is the easiest way to enforce this.
First, ensure it is installed:
sudo apt install ufw
Set the default rules to deny incoming and allow outgoing traffic:
Bash
					sudo ufw default deny incoming
sudo ufw default allow outgoing
Crucial Step: Before turning the firewall on, you must allow your new SSH port, otherwise, you will sever your own connection.
Bash
sudo ufw allow 49222/tcp
If you plan to run a web server right away, also run
Bash
					sudo ufw allow 80/tcp
sudo ufw allow 443/tcp
Finally, enable the firewall:
Bash
sudo ufw enable
The Foundation is Set
By executing these five steps, you have transformed a vulnerable, stock Linux installation into a hardened, production-ready environment. The botnets will ignore you, your authentication is mathematically secure, and you have absolute control over what traffic enters your system.
Now, you are ready to actually start building.